
If you’re still relying on ElevenLabs for text-to-speech, it’s time to hit the brakes. What I’m about to show you is a new, completely free tool from Google with unlimited usage, and it’s honestly better. The days of paying for realistic AI voice generation are over.
This is Google’s brand-new AI text-to-speech tool, and it’s giving ElevenLabs a serious run for its money. If you’re a content creator working on folktale stories, motivational videos, podcasts, or dialogue narratives, this is a game-changer. By the end of this guide, you’ll be able to create the most realistic and expressive AI voices available today.
Key Takeaways
- Google AI Studio’s Native Speech Generation is Free & Unlimited: Unlike other popular tools, this powerful feature in Google AI Studio provides high-quality voice generation without any cost or usage limits.
- It’s More Expressive and Versatile: The tool can generate voices with real human emotion, including laughter and other nuanced sounds. It also excels at multi-speaker dialogue and can seamlessly switch between different languages and accents.
- Easy to Get Started: The interface is simple to use. All you need is a Google account and to set your model to Gemini 2.5 Pro.
- Multilingual and Multi-speaker Capabilities: One voice can adapt to different languages with the proper accent, and the multi-speaker feature allows you to create realistic dialogues between multiple characters for podcasts or audio dramas.
What is Google AI Studio’s Native Speech Generation?
Google AI Studio’s Native Speech Generation is a powerful text-to-speech tool that lives within the Gemini AI Studio platform. It’s designed to turn any text into realistic and expressive human speech, powered by the Gemini 2.5 Pro model. The voice you’re hearing right now is generated by this exact tool.
How to Get Started with Native Speech Generation
Here’s a step-by-step guide to get you up and running with this incredible tool.
Step 1: Access Google AI Studio Open your web browser and go to Google AI Studio. You can find the link in the video description for quick access. This is the simple interface where you’ll be working. You can even switch between light and dark mode in the settings.
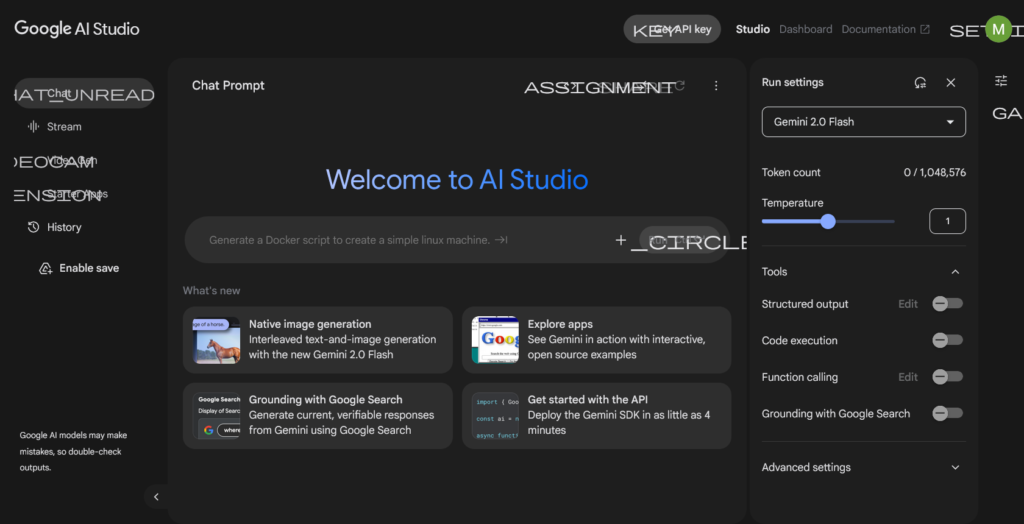
Step 2: Select Native Speech Generation In the hamburger menu on the left, you’ll see a list of features. Click on “Native speech generation.” This will take you to the main interface for our task. Before you begin, make sure your model is set to Gemini 2.5 Pro from the dropdown menu.
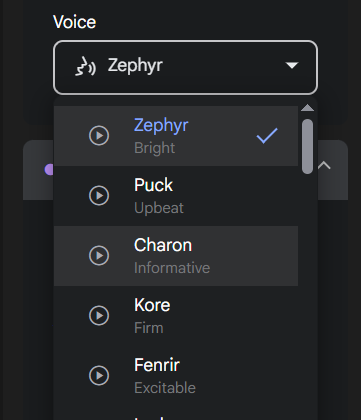
Step 3: Choose Your Voice The interface offers a variety of voices to choose from. You can preview each one to find the perfect fit for your project. For example, let’s select the “Umbrella” voice to continue with our demonstration.
The Ultimate Comparison: Google AI Studio vs. ElevenLabs
To show you just how much better this is, we’re going to use the same script in both tools.
The Script:
“So, I walk into the room, right? And everyone’s staring at me because I still had toothpaste on my chin. (laughs) I didn’t even notice until someone pointed it out.”
First, let’s hear the result from ElevenLabs with the popular “Adam” voice.
(Audio of 11 Labs voice) “So, I walk into the room, right? And everyone’s staring at me because I still had toothpaste on my chin. (laughs) I didn’t even notice until someone pointed it out.”
Now, let’s run that exact same script through Google AI Studio.
(Audio of Google AI Studio voice) “So, I walk into the room, right? And everyone’s staring at me because I still had toothpaste on my chin. (laughs) I didn’t even notice until someone pointed it out.”
Did you hear that? Google AI Studio captured the laugh and the emotion like a real human. It interpreted the (laughs)tag so naturally and realistically. This tool isn’t just an alternative; it’s an upgrade. And the best part? It’s currently unlimited!
Unleash the Power of Multi-speaker Dialogue
This is where Google AI Studio truly sets itself apart. It can act out full conversations between different characters—a feature ElevenLabs still can’t do.
Step 1: Enable Multi-speaker Dialogue In the Native Speech Generation interface, click on the multi-speaker icon. This will allow you to assign different voices to different characters in your script.
Step 2: Assign Your Voices You can select different male and female voices for your dialogue. Give them names for easier identification, for example, “Mike” for the host and “Newly” for the guest.
Step 3: Add Your Dialogue Copy and paste your dialogue script line by line, assigning each line to the correct speaker. Once all lines are entered, click “Run” to generate your full dialogue scene.
Example Dialogue:
Mike: “Hello, Newly. Nice having you back on the show. It’s always great to have you. So, tell us, why did you start this channel?” Newly: “Hi, Mike. Thank you for having me again. Honestly, this channel was kind of an afterthought, but a meaningful one. I started it to impact and inspire upcoming content creators like myself. Here, we learn, grow, and build together, one video at a time.” Mike: “That’s inspiring, Newly. So, before we wrap things up, what do you have to say to your viewers?”
With this powerful feature, you can easily create podcasts, dialogue scenes, or audio dramas.
Conclusion
Personally, I think this tool is awesome. If you found value in this content, consider subscribing, liking this video, and dropping a kind comment below. Let’s grow together. If you have any questions, drop them in the comments, and I’ll be glad to help. I’ll see you in my next video!